How to configure a network between Windows 7 and Windows XP

Setting up a network between Windows 7 and Windows XP cancause certain difficulties for users. To configure the network smoothly, the Country of the Soviets will tell you how to configure the network between Windows 7 and Windows XP.
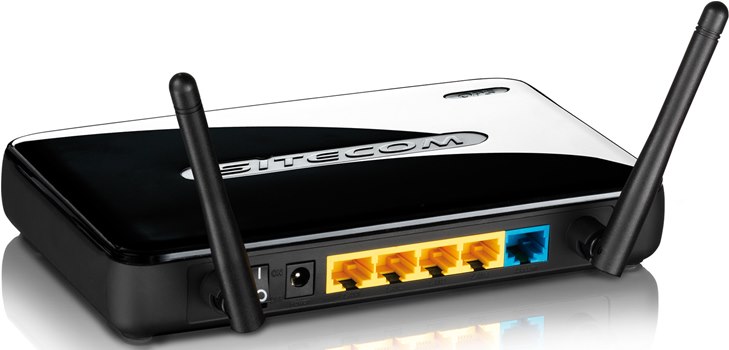
The easiest way to set up a network between Windows7 and Windows XP - buy a router. However, the router will cost more than the standard network cable, besides, if you need to transfer files from one computer to another urgently, this option will not work. Therefore, in many situations it is easier to configure the network independently between Windows 7 and Windows XP.
To configure the network, you will need a network cable(twisted pair, patch cord). How to crimp a twisted pair, we already told in the material "How to configure a network between two computers?". Despite the fact that many modern network cards recognize a direct link and can perform auto tuning, it is better to compress the cable with a crossover. Setting up a network between Windows 7 and Windows XP begins by configuring the connection on a computer with Windows XP installed. To do this, perform the following steps:
Right-click the My Computer icon on the desktop and select Properties from the shortcut menu.
Click the Computer Name tab - there you can see the name of your computer and the name of the workgroup (by default - workgroup).
If you want to change the name of the computer or workgroup, click the Change button. It is desirable that the computer name be written in Latin and does not contain any spaces.
Right-click the Network iconand select Properties. You need to select a network connection (by default, its name is Local Area Connection). When you right-click the network connection shortcut, click Properties.
In the dialog that opens, selectInternet Protocol (TCP / IP), then click the Properties button. In the properties window, you need to enter an IP address (for example, 192.168.1.1.) And a subnet mask of 255.255.255.0. Do not forget to save the changes by clicking on the OK button.
Select the folders that you want to "share"(make it available for the computer with Windows 7). To do this, right-click on the desired folder and select Properties from the shortcut menu. In the dialog box, select the Access tab, and in it select Share this folder. Also, the level of access is configured - change or read only data.
Now go to setting up a network connection on a computer running Windows 7.
Go to the Control Panel (Start - Control Panel). You need the System and Security item, and in it the System item. Here you can see the computer name, workgroup name and domain name.
To change the name of a workgroup or computer,click the Change Settings link (it's on the right). It is better if the names of the workgroups in the two computers match, and the names of the computers themselves are not.
Return to the Control Panel and selectNetwork and the Internet, and in it - the Center for Network and Sharing. In the sidebar, select Change adapter settings, select it. It should contain a shortcut called Local Area Connection. If it is gray and signed off, right-click and select Enable. Then, on the shortcut menu of the shortcut, click Properties. In the dialog box, select Internet Protocol version 4 (TCP / IPv4), click the Properties button again. Enter the IP address (192.168.1.2.) And the subnet mask (255.255.255.0), save the changes.
Return to the Network and Sharing Centeraccess, in the lower left corner there will be a link - Homegroup, click on it. In the window that appears, click the link What is the location on the network ?. In the network location settings window, you need to select the network location of the Unidentified network - select Home network. Then a window will appear for setting up folder sharing - you can skip this step by unchecking all the checkboxes and clicking the Next button. You do not have to configure the password for the home group either, just click the Finish button.
Again, go to the Network Management and Common Control Center.access, from the top in the left column, click the Change Additional Sharing Parameters link. The current profile must be Home or Work. In this profile, look for the last item (Home Group Connections), click the Switch to Use User Accounts and Passwords to connect to other computers, save the changes, log off and log back in (Start - Shut Down - Log Off).
In order to finally configure the network betweenWindows XP and Windows 7, go to the explorer and share the folders on the computer with Windows 7. To do this, right-click the folder, select the contextual menu item Sharing, in it - Specific users. Here you select Windows 7 accounts, with which you can connect to a computer with Windows XP. Click the Share button.
Done! Take into account only two nuances:
Since a computer-to-computer connectionatypical for Windows 7, after rebooting OS can autocratically change the profile on the Public network. To change it again to the Home network, repeat step 4 of the instruction.
To access from Windows XP to Windows 7, use the Windows 7 user account and password for authorization, and vice versa. Accounts must have a password.
